
Power wiring addition Summer 2021
This was a long overdue project
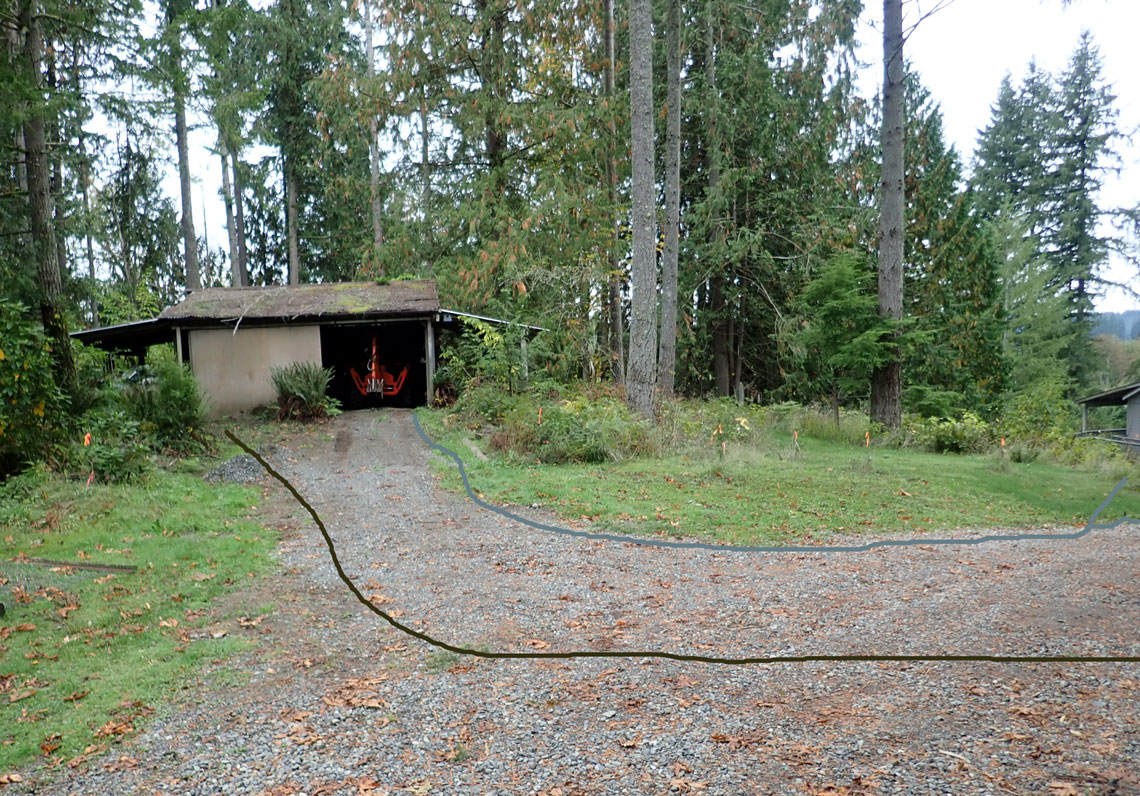
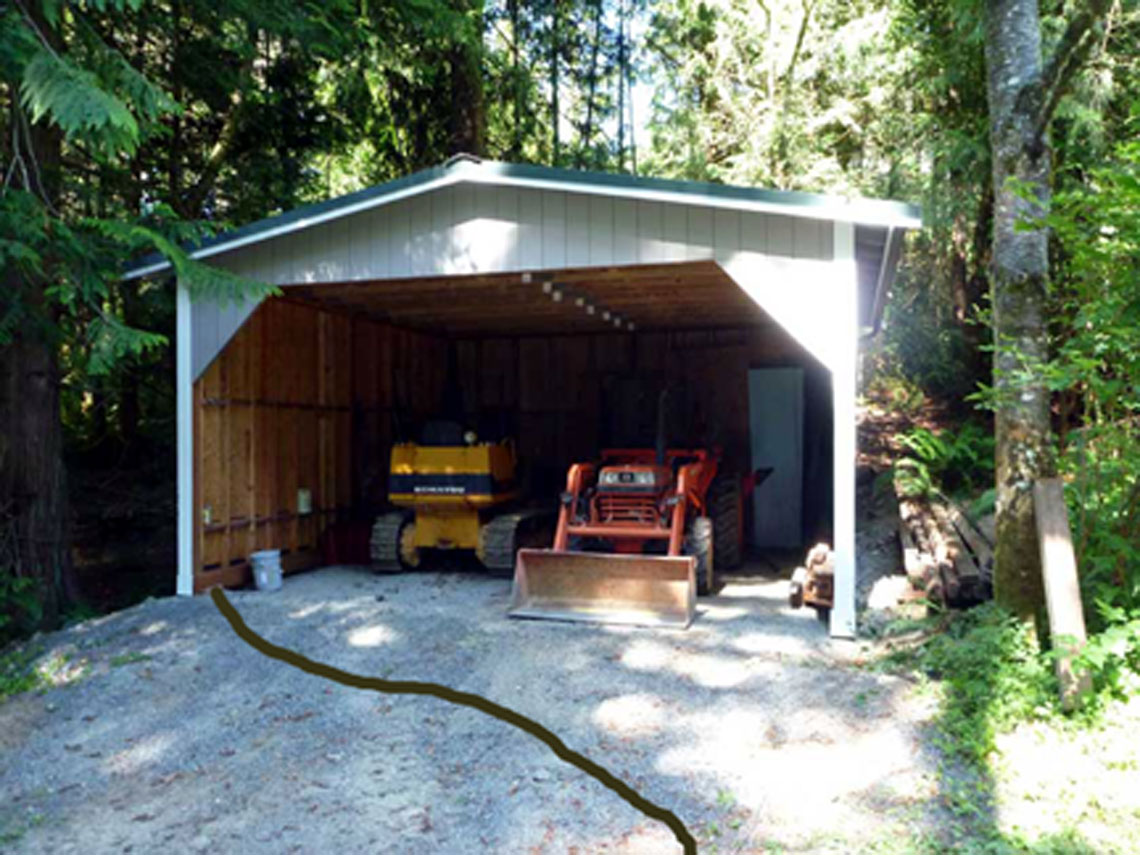
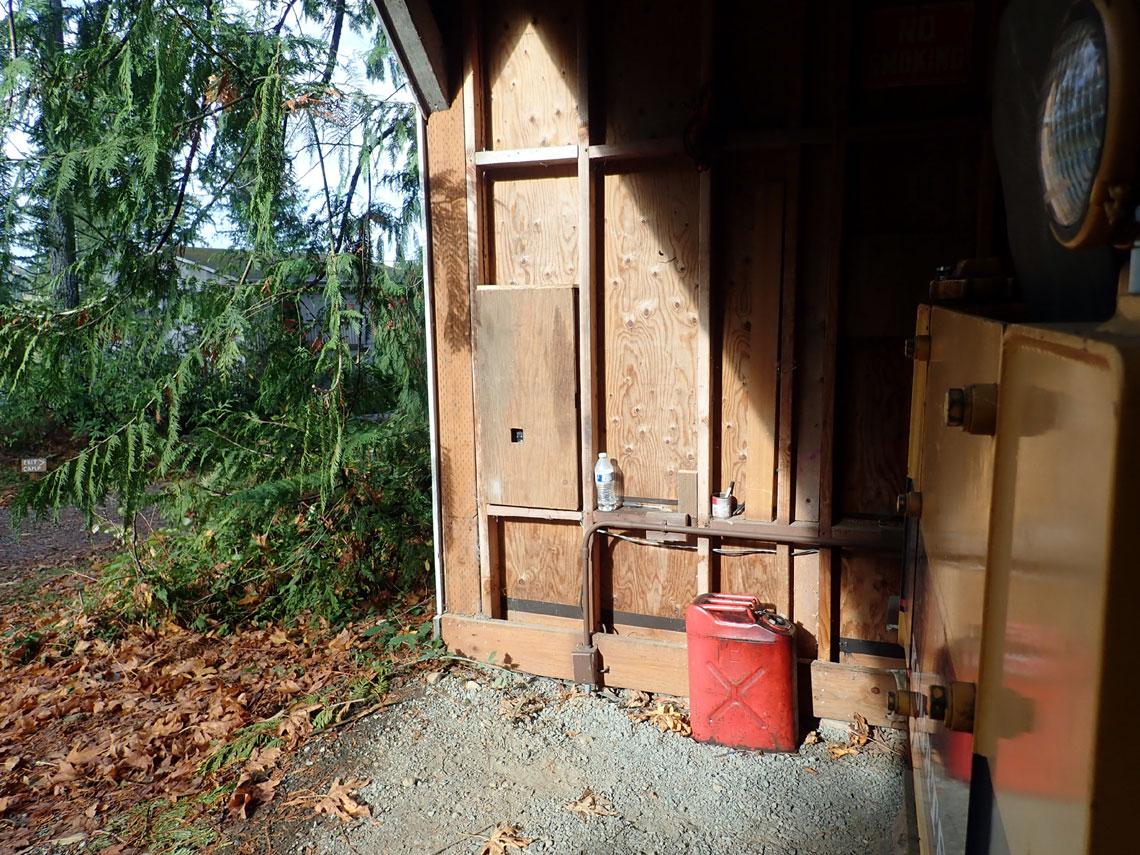
Power and telephone run underground across the gravel
road to the new machine barn. Grey line is existing 220V feed to a sub
panel. Black line is the new addition.
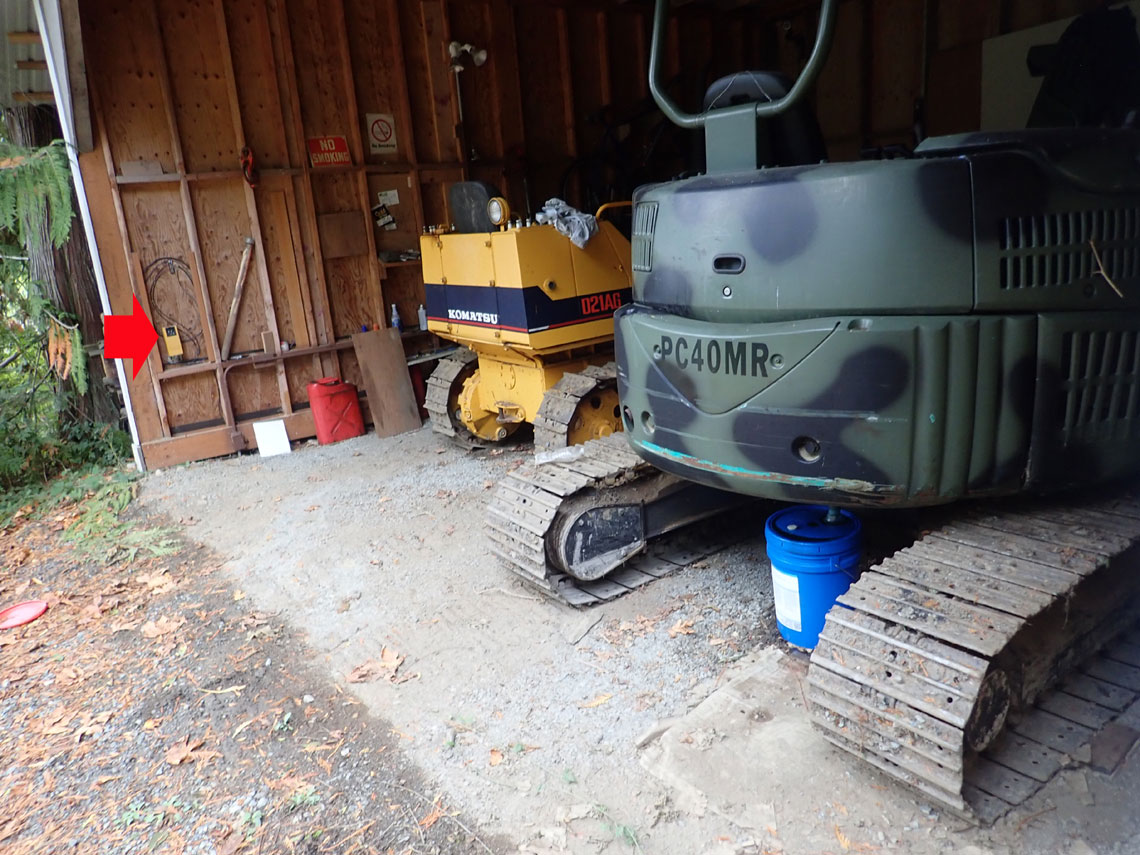
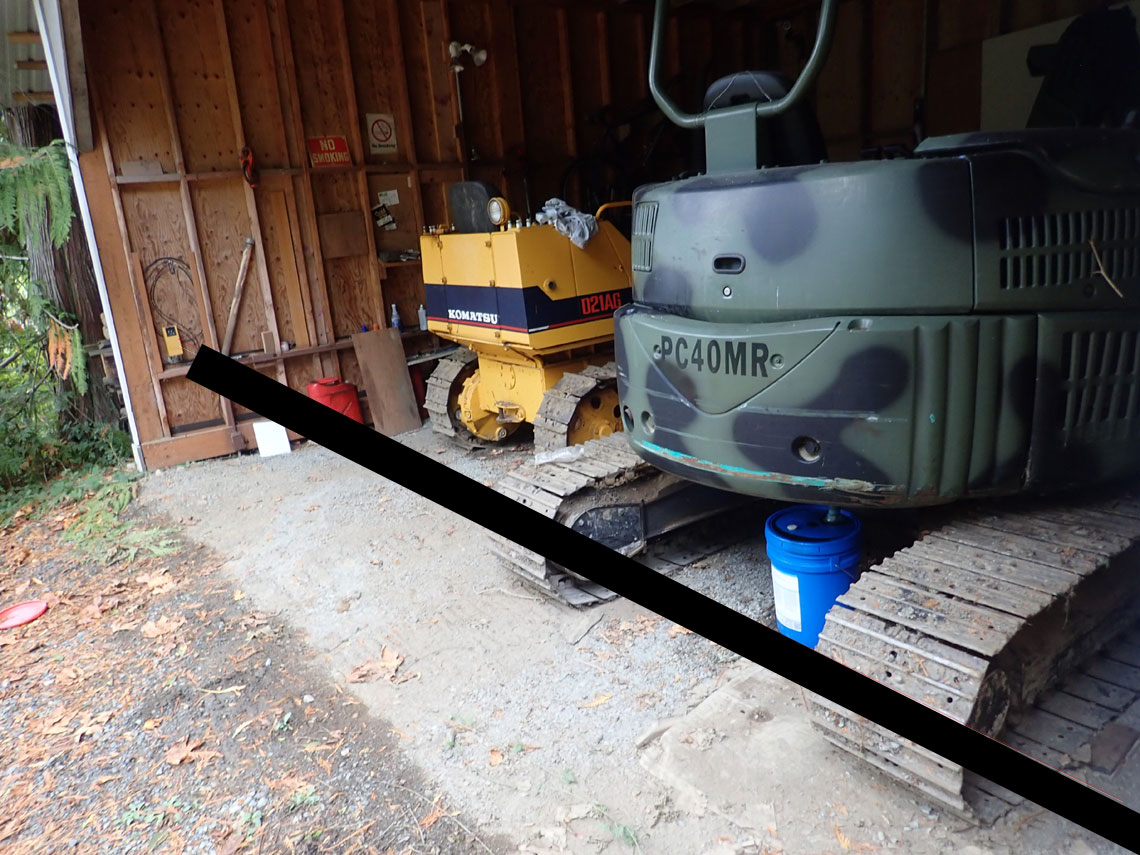
Kubota tractor seen pulled inside
Approximate location of underground 120 Volt power
and telephone cable run.
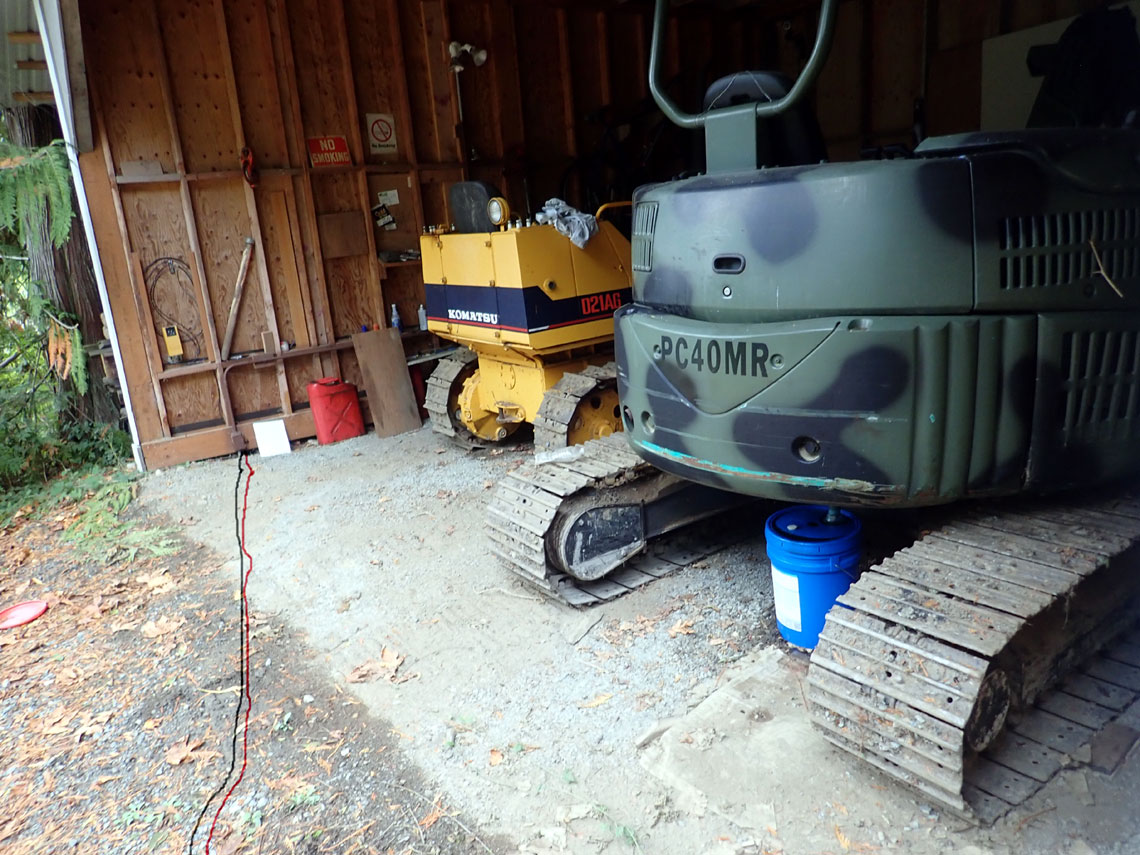
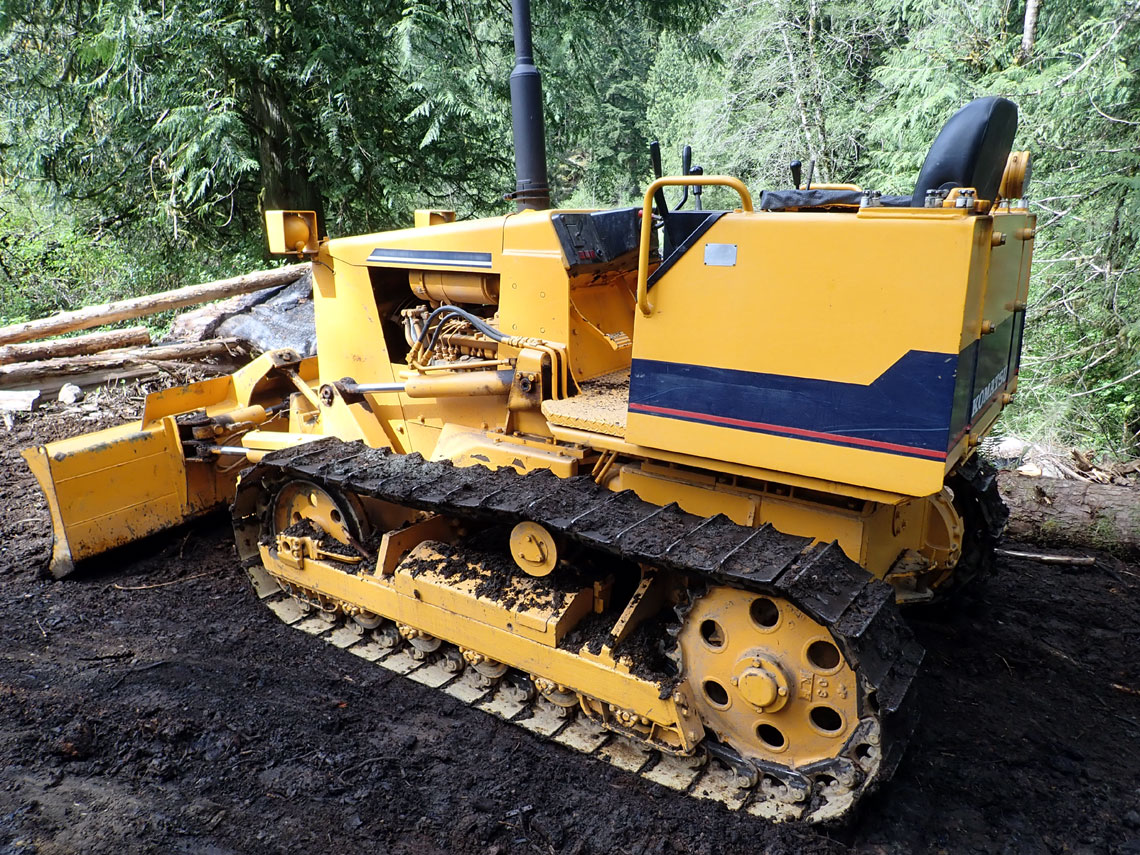
Yellow machine is the treefarm
Komatsu dozer with six-way blade.Camo machine is the eight ton class
Komatsu mini excavator. Blue
can is catching an "insignificant" oil drip.
All we needed was a floodlight pair and an outlet in
this building
PVC conduit made the whole thing a bit weatherproof even though it is
undercover. We wanted this end of the 120V power to be uncluttered and
clean.
Small workstation with adjacent switch and outlet
Magneto phone not yet mounted on panel to the far left.
Note oil filter box tops stapled to wall as we can never remember which
three filter part #'s for which of the three diesel machines!
We decided to add a laser beam "tripwire" security system as the tractor
shed is open and vulnerable to pilferage. Found
this
one at our favorite surplus store. It tested good on the bench and
the idea of a tiny red laser seemed fun.
Here's the laser transmitter installed and aligned to
the receiver 18' across the opening
Note the 3/4" indent of the wood block for a later plywood concealment
cover.
A Google search reveals
many ideas out there
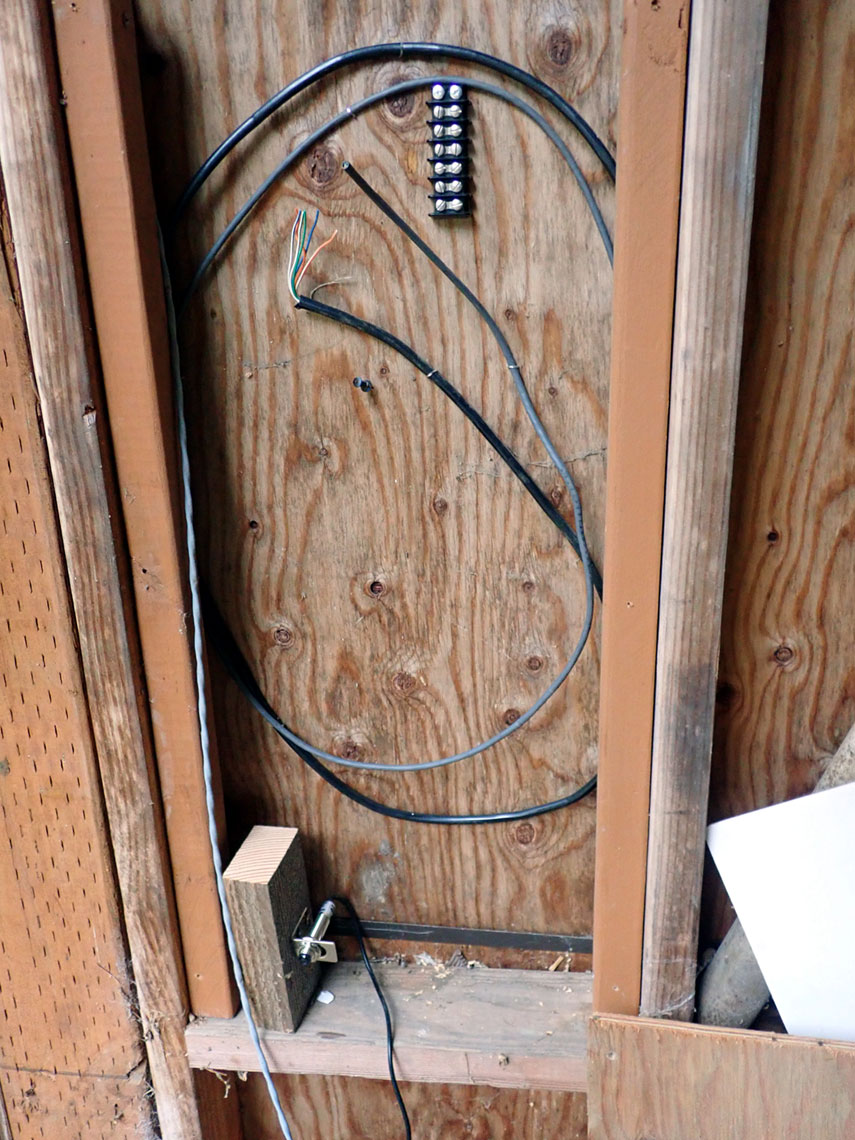
Initial installation
The laser receiver (bottom of photo) during initial testing and
alignment.
Black wire above is the 4 pair direct bury telephone wire from the other
building.
Grey wire dropping from above is the power wire to the laser transmitter
over the top 18' across the opening. Other grey wire is for the magneto
telephone, hidden on-off switch and power on LED next to the
workstation.
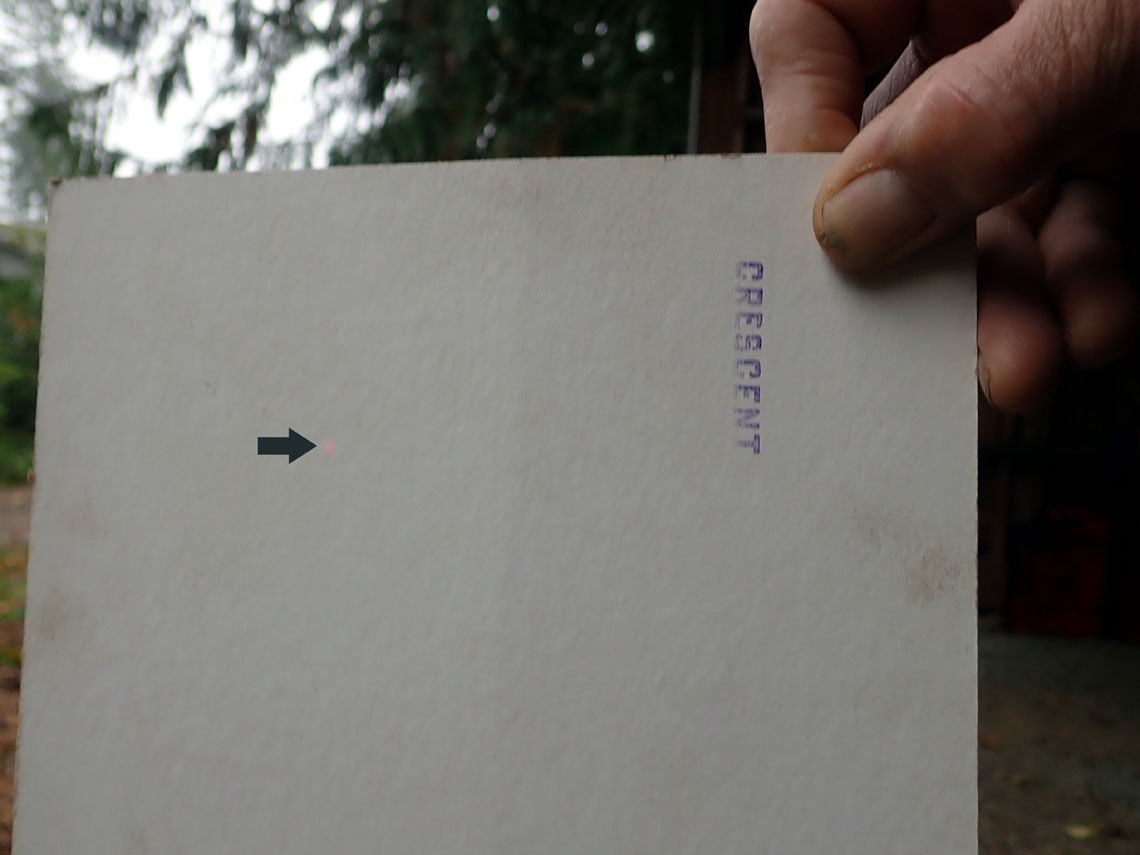
A disappointment
After three days the laser dot became dimmer and dimmer.
We got our $20 back but here's what we envisioned
Option B
Utilize a surplus commercial IR photoelectric driveway minder found in
the bottom of our electronics junk box. This unit was up, aligned and
running in a few minutes. It uses a reflector on the opposite wall. It
also came with more complications: It required 24VAC and we also needed
12VDC for the alarm driver.
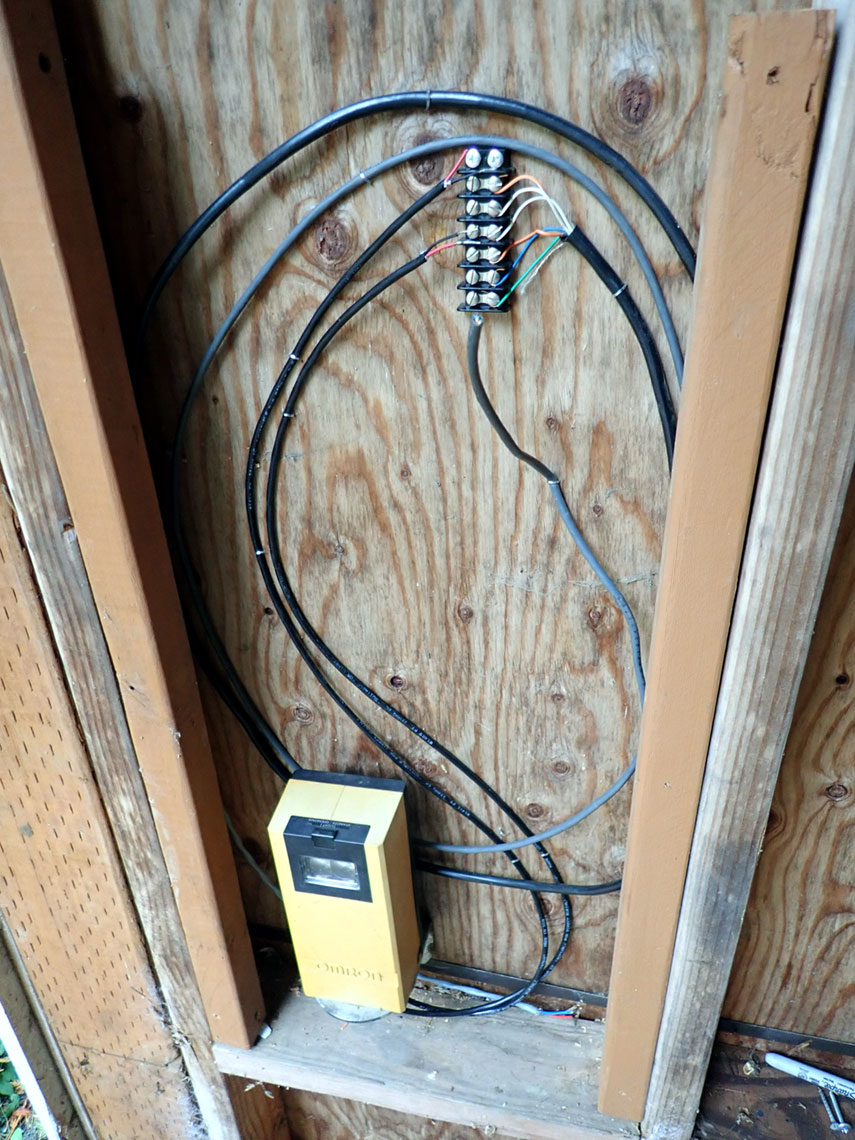
Close-up of the commercial photo beam unit.
Note the barrier strip wired for power, signaling and magneto phone
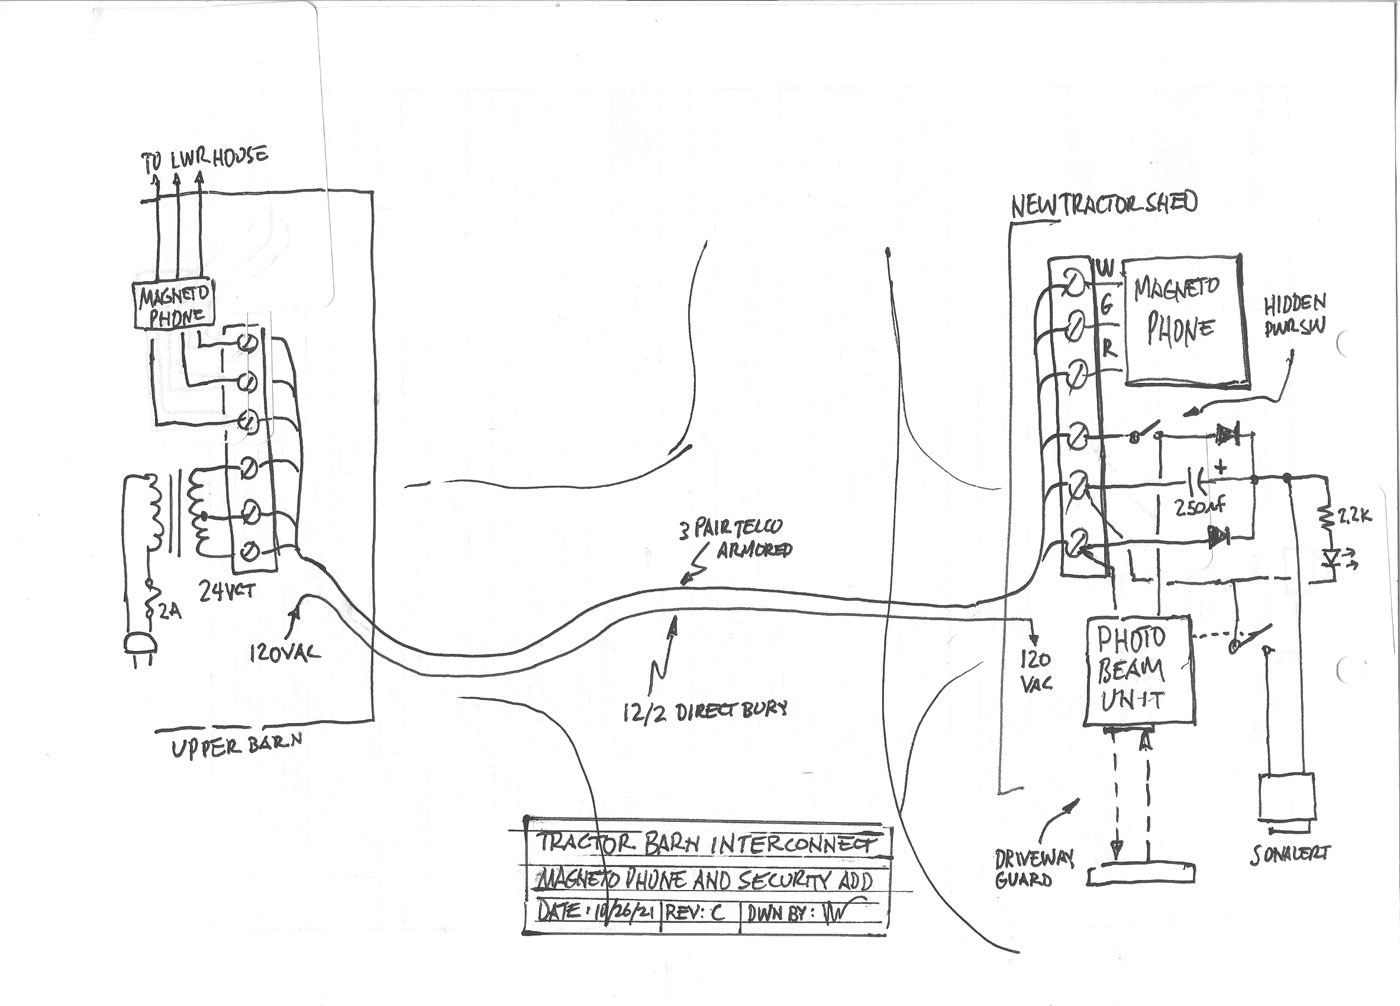
Schematic diagram of the setup
How it works:
The 24VAC center-tapped transformer in the older garage sends 12 and 24
volts AC through the phone cable to the terminal strip in new garage.
The commercial photo beam unit needs 24 volts AC and the remote center
tapped transformer provides a novel "two diode" DC power supply
configuration. We now have 12 volts DC for the alarm. A filter capacitor
to smooth the rectified DC and a hidden on-off switch and LED round out
the design. With six 22ga telephone wires, we utilize three wires
for the magneto phone and have three wires for the remote power. This
eliminates a messy 120VAC connection and 120 Volt wiring in the new equipment
shed. New shed AC power design requirement: Only a sterile
install, a light switch, floodlight pair and outlet.
Commercial photo unit with simulated beam
Note the line where its wet and dry from recent NW rains
Completed unit with plywood concealment cover
Note the brown painted junction box bottom center where the wires come
up from the underground run.
11/16/21